
Canva Background Remover Not Working? Fix Missing Tools, Rough Edges, and Failed Cutouts
When Canva removes a background well, the task takes seconds. When it does not, the same job can turn into a long loop of rough hair, missing edges, or a tool that will not open. The fastest fix is to check the source file, tool access, edge quality, and export choice in that order.
1. Start with the source image
A background tool can only work with the pixels it receives. Start with the cleanest photo you have. A sharp subject on a simple background is easier to cut out than a soft photo with hair, smoke, glass, or shadows.
- Use a clear image with good light.
- Avoid a tiny screenshot if the original photo is available.
- Wait for the upload to finish before you edit.
- If the file is very large, make a smaller copy and test again.
Canva says its photo background remover has file and resolution limits. Its Help Center also notes that some images can fail when a clear subject cannot be found. That is why a better source image often fixes the issue faster than repeated clicks.
2. Fix a missing or grayed-out remover
Select the photo itself, not the page or a group. Then open the image editing tools. If the option is still missing, check your plan and the type of item you selected. Canva lists Background Remover as a paid feature in many workflows.
| What you see | What to try |
|---|---|
| Tool is missing | Select an uploaded photo and reopen image editing. |
| Tool is gray | Check plan access and file limits. |
| Processing never ends | Check the connection, reload, and try a smaller photo. |
| Subject is partly removed | Use the restore brush on the lost area. |
3. Clean rough hair and product edges
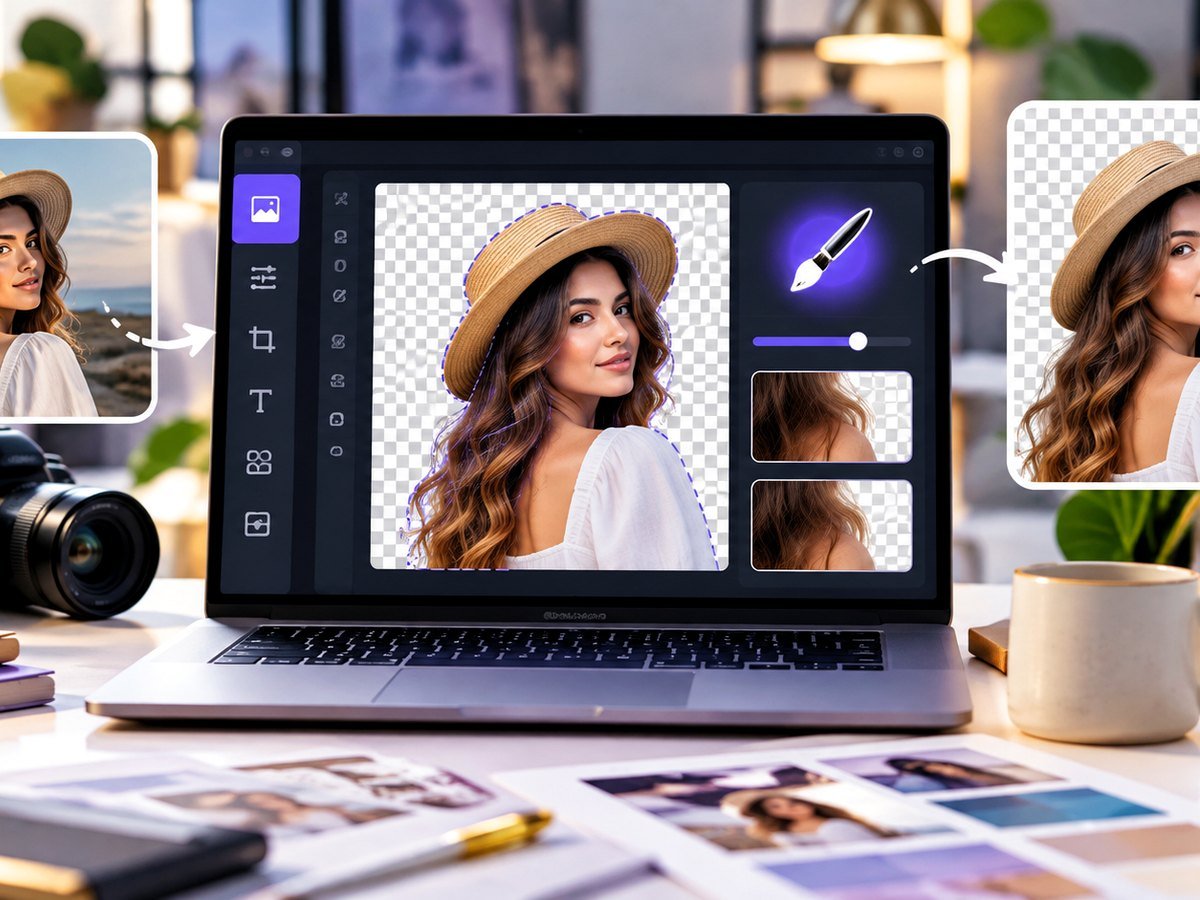
Do not try to fix every edge at normal zoom. Zoom in and work in small areas. Use a small brush near hair, fingers, jewelry, and product corners. Use a larger brush only on open background areas.
If the cutout still looks fake, place it on the final background before you judge it. A tiny soft edge may look fine on a photo background but obvious on a flat white page. For product graphics, keep a little natural shadow when it helps the object feel grounded.
4. Keep the background transparent
Removing a background inside the editor is only half of the job. You also need an export format that can keep transparency. PNG is the normal choice. JPG cannot keep a transparent background.
If you are making a social post, you may not need a transparent file at all. Put the cutout on the final design and export the full post. If you do need a separate cutout, read our transparent background fix and our Canva export format guide.
5. A simple workflow that prevents most issues
- Upload the best source image.
- Wait for the upload to finish.
- Remove the background.
- Zoom in and check small edges.
- Place the cutout on its real background.
- Export as PNG only when you need transparency.
If the whole Canva editor is slow while you work, use our Canva slow editor fixes before you keep editing. A laggy browser can make a normal background task feel broken.
Canva’s official Background Remover help page has the latest plan and file limits.
Canva | Background Remover
Video source: YouTube · Canva India
Frequently asked questions
Why is Canva Background Remover missing?
It can depend on your plan, the file type, or the place where you are editing. Select an uploaded photo first and check the image editing tools.
Why are hair edges rough after background removal?
Fine hair and low contrast are hard to separate. Use a clean, sharp source image and refine the edge with erase or restore tools when available.
Can Canva remove a video background?
Canva supports video background removal in supported workflows, but limits can apply. The video must finish uploading before the tool can process it.
Should I download the result as PNG?
Use PNG when you need transparency. If the background does not need to stay clear, JPG can make a smaller file.