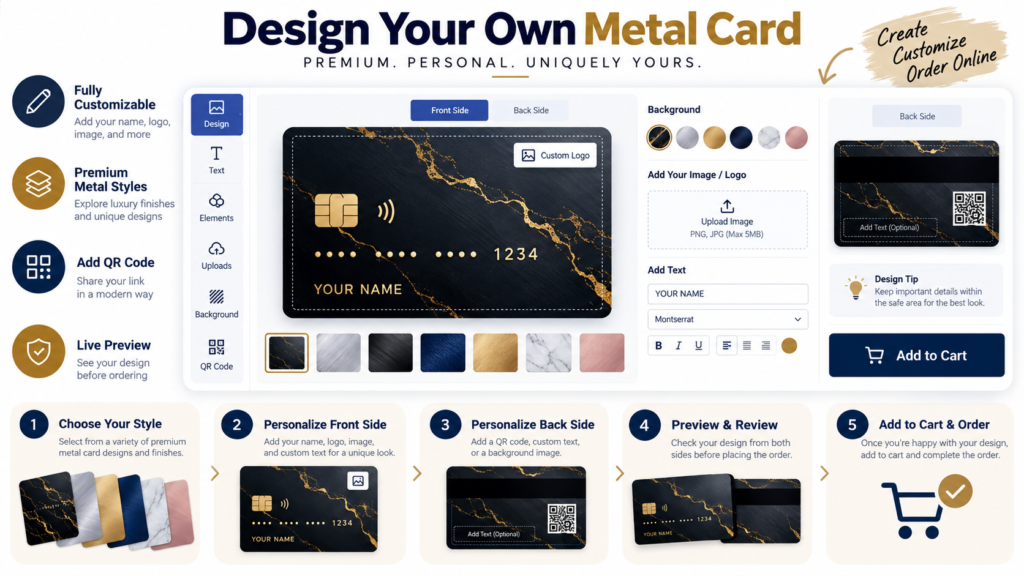
How to Prepare Photos, Logos, and Artwork for Metal Card Printing Without Losing Quality
Many card design problems begin before the design tool opens. The real issue is often the file. When your source image or logo is poor, the final card struggles no matter how good the layout is.
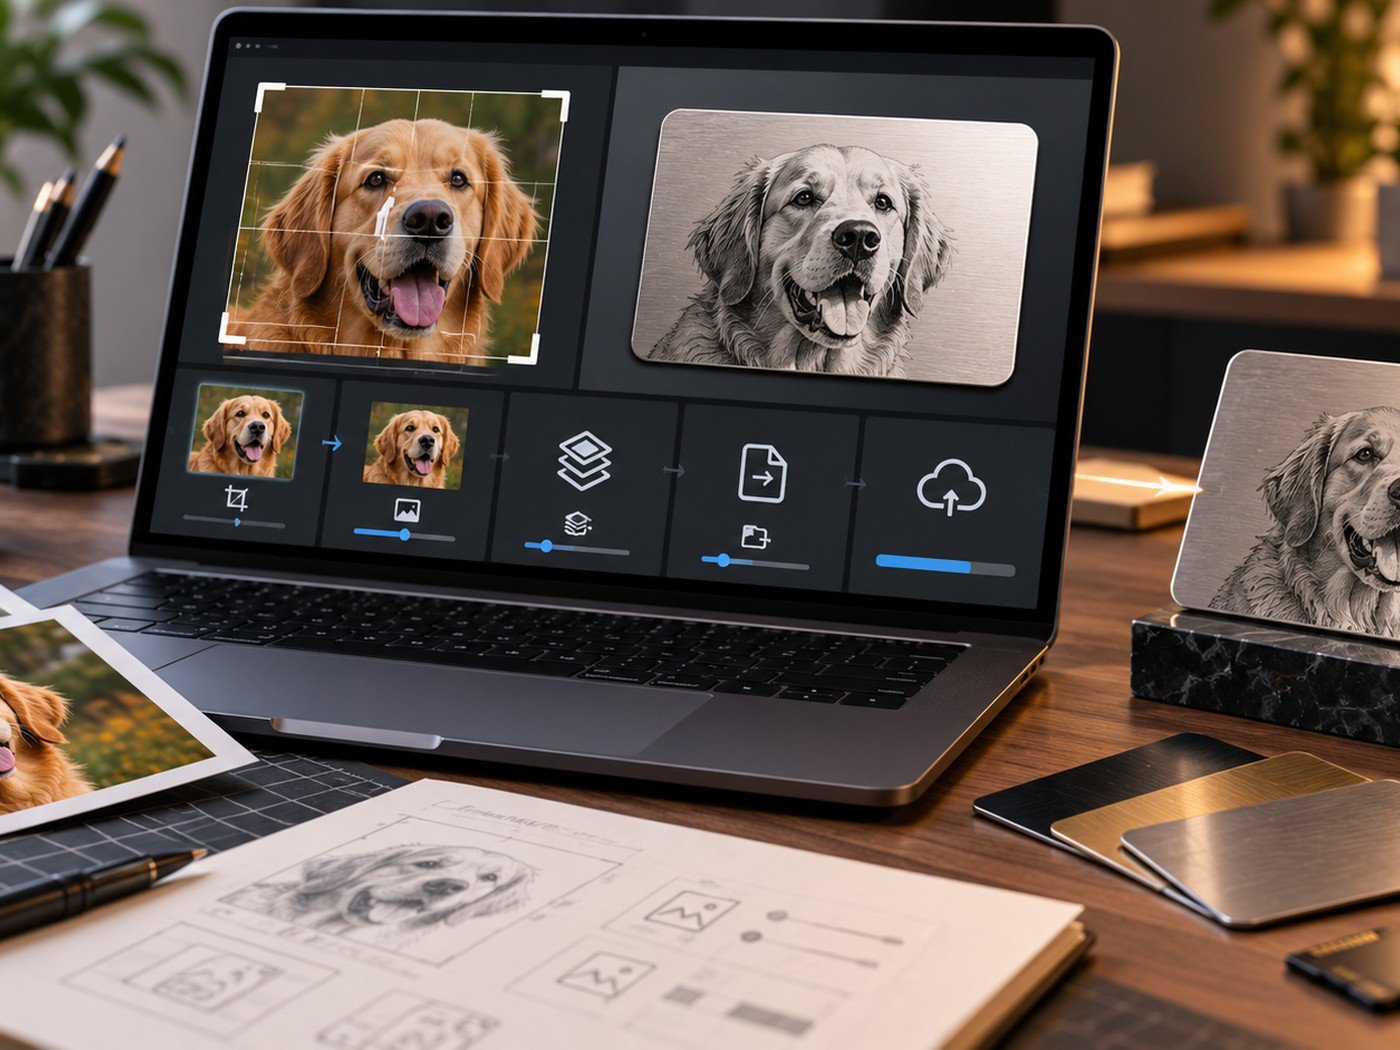
1. Start with source quality
A sharp original photo gives you more freedom. A weak screenshot or a small blurred file gives you fewer options. If you want a premium final piece, start with the clearest source you can find.
This matters even more for engraved or etched styles because the system needs clear shapes and contrast to translate the image well.
2. Crop for the card shape, not for the original photo
A photo that looks perfect in its original ratio can fail on a card because the subject sits too close to the edge or the crop removes the best part of the image. Use the Image Cropper to test a stronger composition first.
If the image needs flipping or rotation for a cleaner direction, the Image Flip & Rotate Tool can help.
| Task | Helpful tool | Why it matters |
|---|---|---|
| Crop the focal point | Image Cropper | Keeps the important subject in frame. |
| Reduce file weight | Image Compressor | Makes uploads faster without overloading the file. |
| Change the file type | PNG, JPG & WebP Converter | Lets you match the right format to the artwork. |
| Check text background contrast | Color Contrast Checker | Helps any added text stay readable. |
3. Compress and convert only when useful
Compression is helpful when the image file is too large, but it should not become so aggressive that the artwork looks weak. Conversion is helpful when you need a format that works better for the next step.
Use the Image Compressor when speed matters and the image converter when the file type needs to change.
Simple tools for better source files
These tools help you clean, resize, crop, and convert artwork before it enters the card designer.
Helpful tools: Image Cropper · Image Compressor · PNG, JPG & WebP Converter · Image Resizer
4. Handle logos and graphics with extra care
Logos should stay clean and sharp. Transparent graphics usually work well as PNG files. If the logo sits on a colored surface, test the contrast before finalizing it.
Avoid placing a weak-quality logo into a premium design. The card finish may be excellent, but the weak logo will still lower the final impression.
5. Preview before upload
Before you drop the file into Design Your Card, check it one last time. Is the crop right? Is the file clear? Is the subject centered in the way the card needs?
That simple preview step can prevent the most frustrating mistakes. You can pair this guide with our article on common custom card design mistakes for even better results.
Frequently asked questions
What is the best file type for uploaded artwork?
It depends on the artwork. PNG is useful for transparent graphics, while JPG can work well for standard photos.
Should I compress images before uploading?
Yes, if the file is unnecessarily large. Compression can make uploads faster, but check that details still look sharp.
Can I use a low-resolution screenshot?
You can, but it is rarely a good idea because small or soft files often look poor when placed on a premium card.