
Optimize Canva Images for Websites: Resize, Convert and Compress Before Upload
Canva can export a sharp image, but a website does not need every graphic at the largest possible size. Oversized files can slow a page and waste bandwidth. The goal is to keep enough detail for the real display size while avoiding extra pixels and file weight.
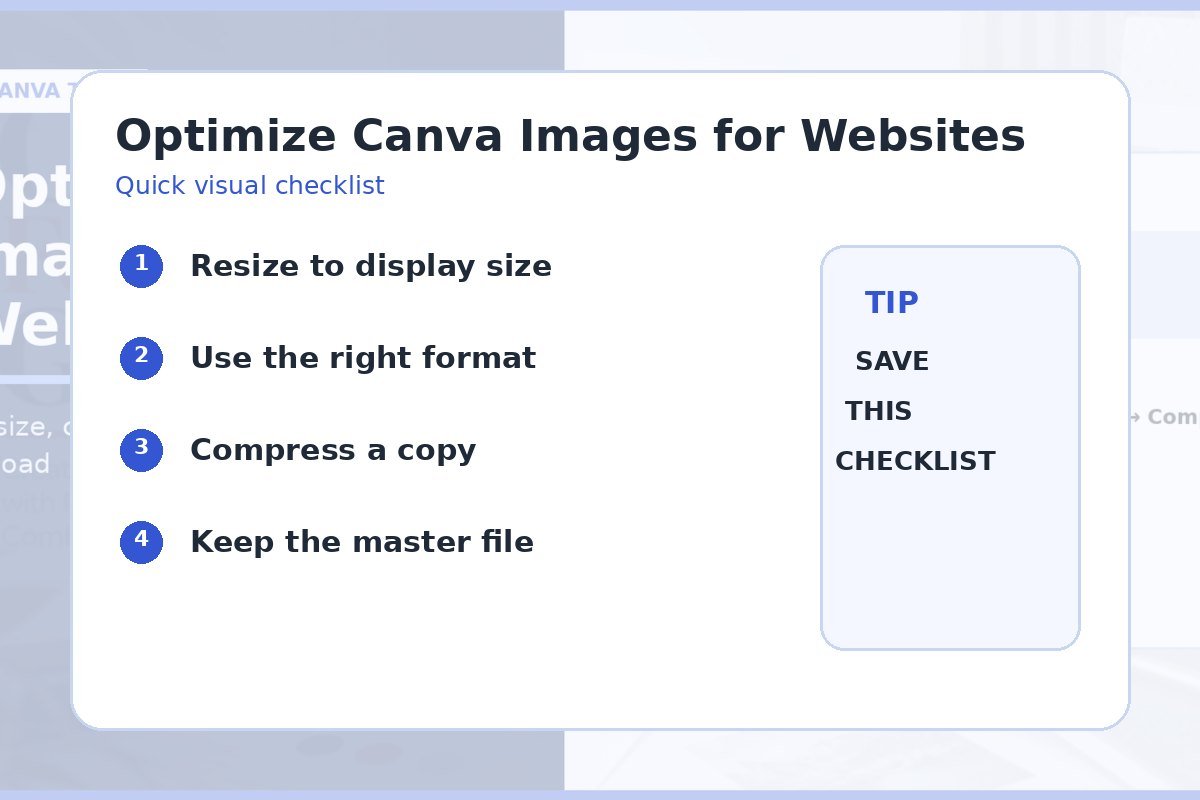
Use a simple workflow: crop, resize, choose the format, compress a copy, and check the result. Keep the original Canva design and a high-quality master so you can create new versions later.
- Choose the real display size.
- Crop before resizing.
- Pick the right file format.
- Compress a delivery copy.
- Keep the original master file.
1. Start With the Real Display Size
Find out how wide the image will appear on the website. A card image that displays at a few hundred pixels does not need the same file as a full-width hero. Exporting much larger than needed adds file size without adding visible benefit.
Use the Social Media Size & Image Resizer for a quick web-ready copy when you already have an exported image.
| Use case | Think about |
|---|---|
| Blog hero | Content width and high-density screens |
| Card thumbnail | Actual card width |
| Logo | Sharp edges and transparency |
| Photo gallery | Display size and loading behavior |
2. Crop Before You Shrink
Remove unused edges first. A focused crop needs fewer pixels and usually looks stronger in a card or hero. Keep the important subject away from areas that may be trimmed on mobile.
The Image Cropper helps you prepare a square, portrait, landscape, or custom ratio before you compress the file.
3. Choose the File Format by Content
JPG is practical for many photo-heavy images. PNG is useful for transparency and crisp graphics. WebP can reduce file size for many website images when your workflow supports it.
Use the PNG, JPG & WebP Converter when you need another delivery format. The Canva export format guide explains the trade-offs in more detail.
Do not convert just for the file extension
- Keep transparency only when needed.
- Do not expect format conversion to restore lost detail.
- Use a photo format for photo-heavy content.
- Open the converted file and inspect it.
4. Compress a Delivery Copy
Compression should reduce file size while keeping the image acceptable at the final viewing size. Do not judge only at 200 percent zoom. Open the file at the size it will appear on the site.
Use the Image Compressor to compare output quality and bytes. Save the optimized copy with a clear file name so you do not overwrite the master.
5. Keep the Editable Master
Do not treat the web file as the only version. Keep the Canva design and a high-quality source. You may need a larger banner, a print version, or a different crop later.
A clean asset workflow gives you one master and several delivery files. That is safer than editing the already compressed image again and again.
Fast real-world test
Open the page on a phone after you add the image. Does it load fast? Does it still look sharp? If the file is much wider than the space where it sits, make a smaller copy. Do not keep a huge file just in case. Keep the huge master off the live page.
Use a simple rule: crop first, size next, then save a web copy. Check that copy at normal view size. If it looks good, stop. You do not need to chase the lowest file size if the image starts to look rough.
Do one more check on a slow link if you can. A fast page feels better to use. A clear image can still be small. The goal is not a perfect score. The goal is a page that loads well and still looks good.
How to Compress an Image for Web Use
Video source: YouTube
Quick checklist
- Display size confirmed.
- Crop checked.
- Format chosen for the content.
- Compressed copy inspected.
- File name is descriptive.
- Master file kept.
Frequently asked questions
Should I upload the largest Canva export to my website?
Usually no. Match the image to its real display context and keep a larger master separately.
Is PNG always better quality than JPG?
No. PNG is useful for graphics and transparency, while JPG can be more efficient for photos. The right choice depends on the content.
Can compression make an image blurry?
Too much compression can remove detail. Compare the result at the final display size and choose the smallest file that still looks clean.