Canva Autoplay Not Working? Fix Video Playback, Slide Timing, and Presentation Loops
Autoplay problems are hard to spot when you test only one slide. A video can have the wrong playback setting, a slide can end too soon, or the deck can be in a manual presentation mode. The fix is to test playback, timing, and format as one system.
1. Check the video playback setting
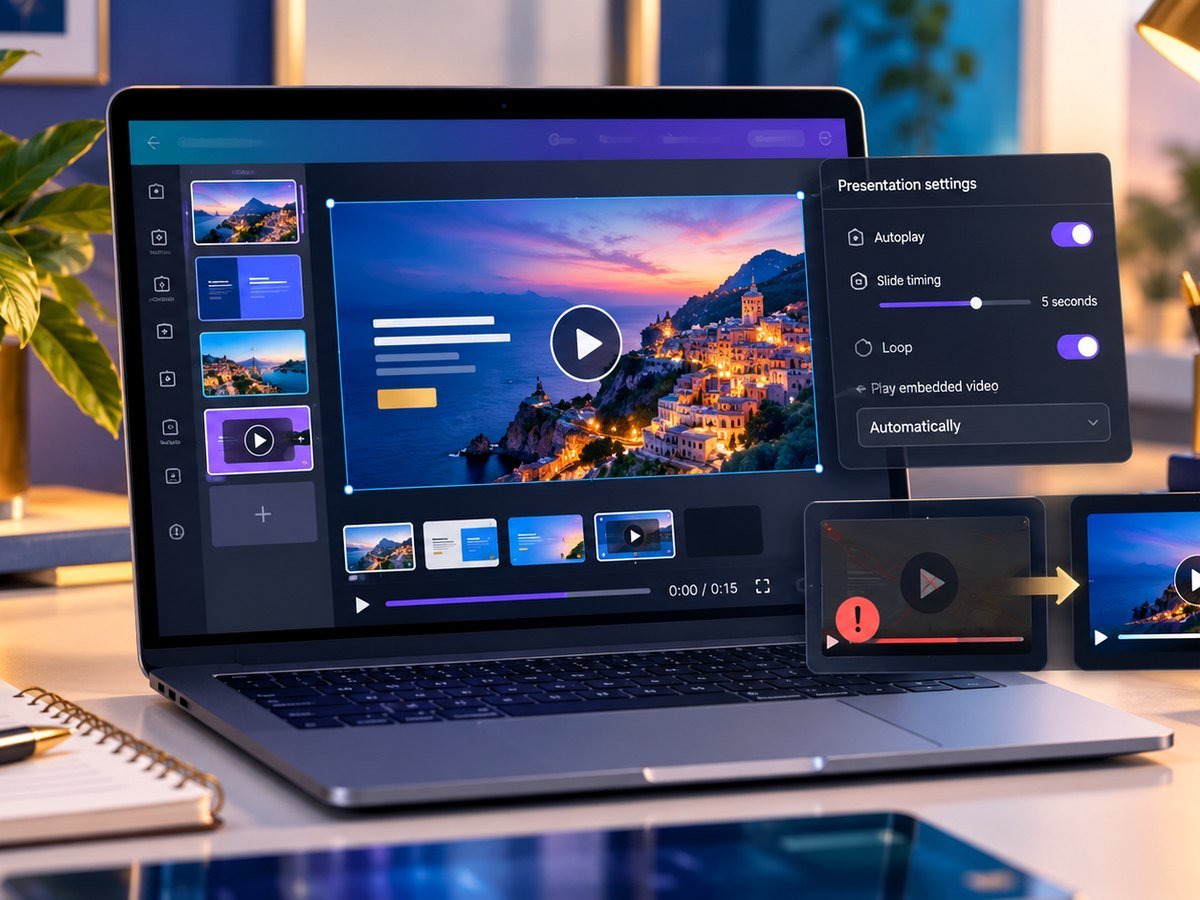
Select the video on the slide. Open its editing controls and look for Playback. Canva supports a “play automatically” setting in supported presentation workflows. The video must finish uploading before playback settings can work.
If you cannot see the option, confirm that you selected the video itself and not the page.
2. Use the correct presentation mode
A normal presentation waits for clicks. Autoplay advances slides for you. Pick the mode that matches the job.
| Need | Mode idea |
|---|---|
| You control each slide | Standard presentation |
| Slides move on their own | Autoplay |
| Fixed video file | Export as MP4 |
| Repeating display | Test autoplay and loop behavior |
3. Set slide timing for real reading time
Do not give every slide the same short time. A title slide may need three seconds. A slide with a chart or several points needs more. Read each slide at a normal pace and add a little extra time.
If a video is longer than the slide time, the deck can move on before the clip finishes. Match the slide duration to the content.
4. Check the video format and upload status
Canva supports common video types such as MP4, MOV, GIF, MPEG, MKV, and WEBM in its playback workflow. If the file is still uploading, wait. If the file type is unusual, convert it to MP4 and test again.
If the final MP4 looks blurry, use our Canva video quality guide.
5. Test the full deck before a live event
- Start from slide one.
- Watch every embedded video.
- Check slide timing.
- Check audio level.
- Let the deck reach the end.
- Confirm whether it stops or loops as you expect.
For a client deck, a school display, or a kiosk, this full test is more useful than checking one slide. Canva’s official playback guide has the latest video playback steps.
How To Autoplay Presentation Slides in Canva
Video source: YouTube · NechEmpire
Frequently asked questions
Why does my Canva video not autoplay in a presentation?
Select the video and check its playback setting. The video also needs to finish uploading and use a supported format.
How do I make a Canva presentation play by itself?
Use a presentation autoplay mode and set slide timing. Test the full deck before you present.
Can I loop a video in Canva?
Loop options depend on the design type and playback setting. Canva notes that looping video is not available in every video-design workflow.
Why is autoplay different after download?
Live presentation settings and downloaded video files are different workflows. If you need fixed automatic playback, an MP4 export can be more predictable.